Freezer Paper Stencil Silhouette
I'm not going to go into too much detail here about either the freezer paper stenciling because there are lots of other great tutorials out there on those subjects. I referenced this one and this one.
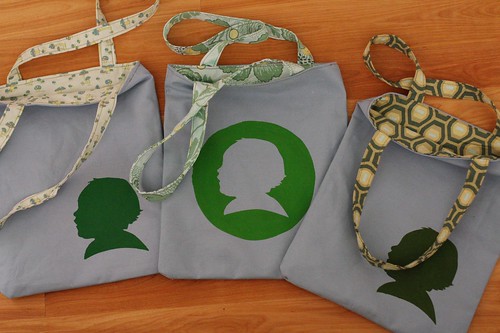
First, gather your materials: freezer paper, pencil, craft knife or small sharp scissors, iron, fabric paint, a digital or print photo of your subject in profile, and something fabric to print onto. I'm making reversible tote bags with Skip to my Lou's tutorial.
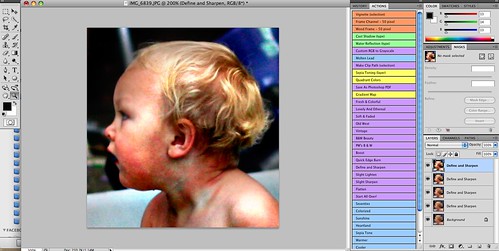
Because I'm a bit too lazy, I didn't want to print out my photo so I chose the easy way: I opened my photo in photoshop, cropped it and zoomed in until it was the size I wanted -- about 4" high. Then, using the Pioneer Woman's free photoshop actions, I hit "define and sharpen" a few times until I had a nice distinct profile.
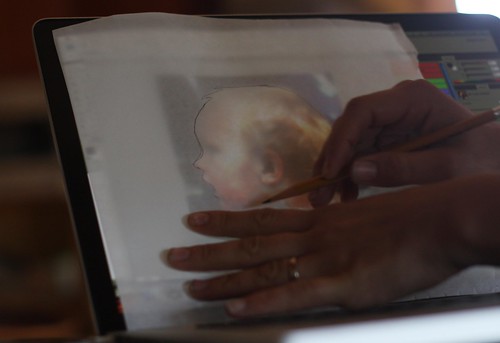
Next I cut a square of freezer paper a few inches larger than my image, held it up to the screen, and very carefully and very lightly traced it in pencil. Hey, presto, you've got a light box! If you try this lazy woman's method, please don't press too hard with your pencil or you'll damage your screen.
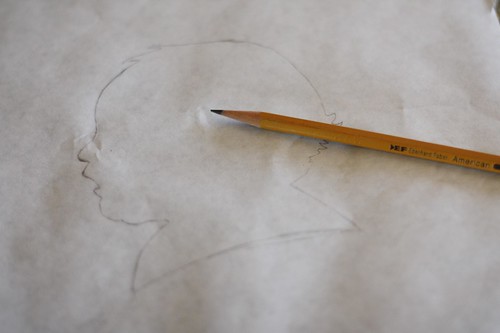
Now clean up your tracing lines: simplify the hairdo, add details (eyelashes, hair bows, etc), and make a nice curved line below the neck.
Carefully cut out your design. I've found it's easier to move the paper rather than the knife when cutting curved lines and fine details. If you cut carefully, you'll be able to use both the positive and the negative pieces as stencils.

Next iron your stencils onto your fabric. It's also a good idea to iron a piece of freezer paper onto the back of the fabric to keep the paint from bleeding. Make sure your iron is set to a dry setting, but high heat is okay.
Paint using fabric paint. I like the Jacquard brand; I get it from my local art store but it's also available all over online. If you're painting on a dark background, it's worth searching out Jacquard's Neopaque line. Use a foam brush or sponge and dab the paint on. Now test your patience and let the paint dry to touch, recoat, and allow to dry completely overnight before peeling off the stencil.

here's the positive image...
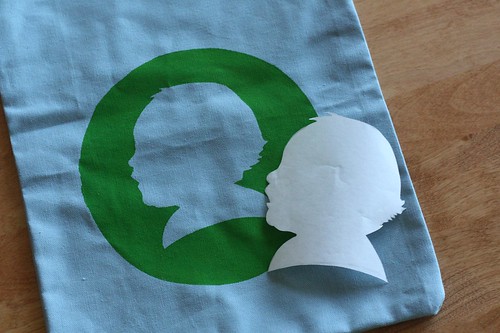
and the negative image
After a bit of sewing, you've got a beautiful homemade gift, perfect for those doting grandmothers to show off at the market. Now if I could just figure out how to get one to Finn's Oma in the Netherlands today...